Who else agree’s that the Malteser truffle is hands down the absolute best out of a tin of celebrations? I mean, there’s no competition really! So when I noticed that they’re currently on offer in Tesco if you have a club card, you bet they were mine in 0.5 seconds.
Naturally the cheesecake jar version just had to happen. I didn’t realise that my cheesecake jars would be quite as popular as they are, so it’s a pleasant surprise that you all seem to love them as much as I do. But then hey, what’s not to love about a cheesecake that is 10x easier and quicker to make?
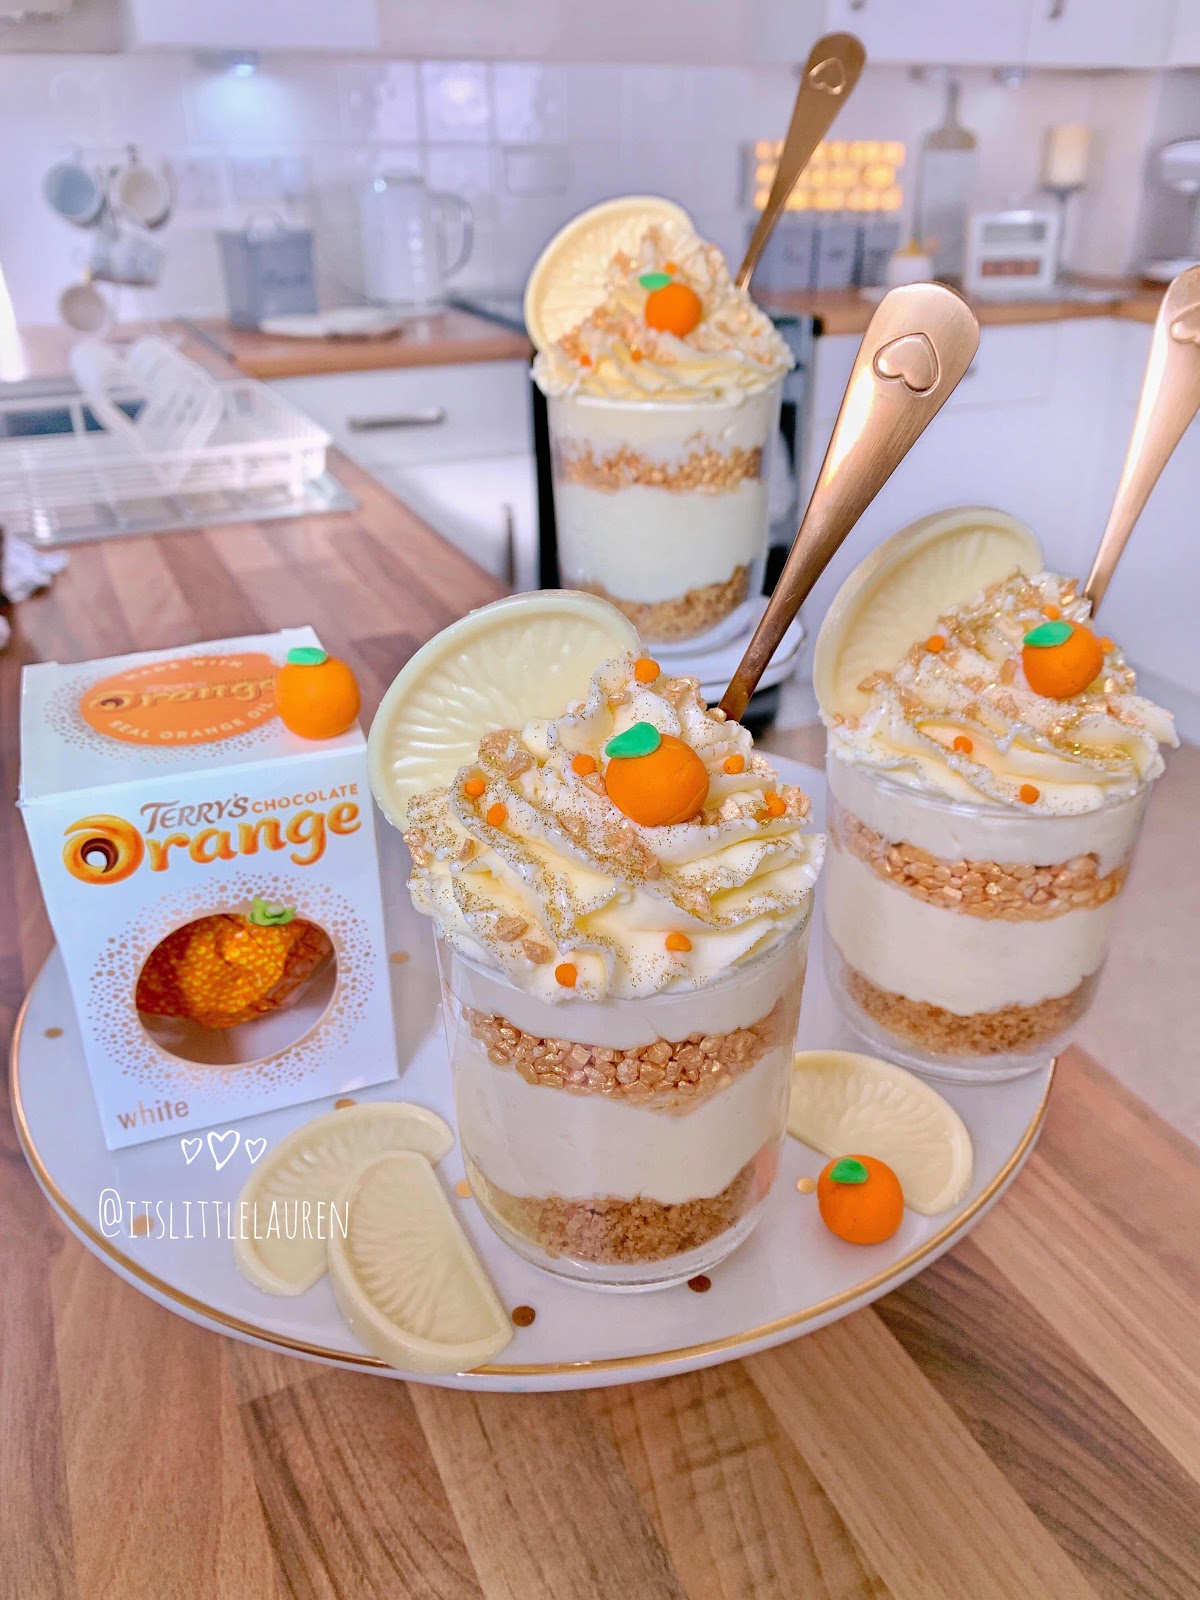
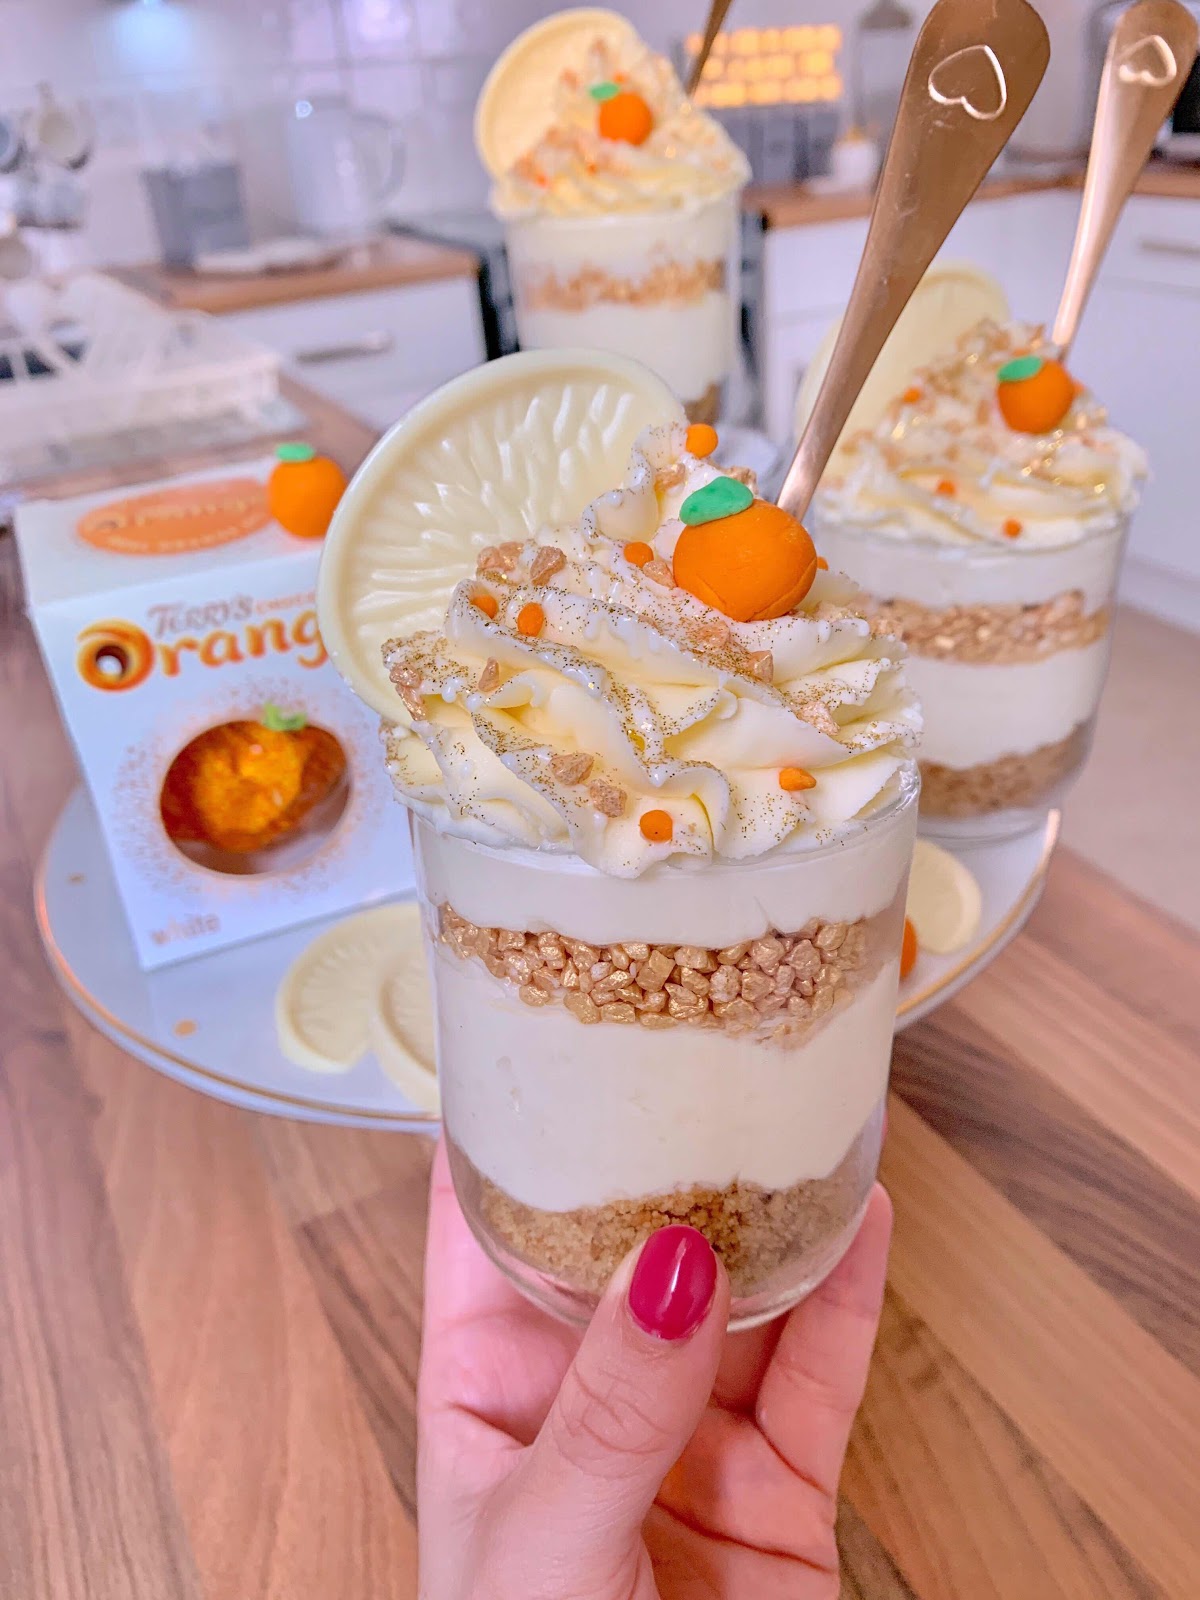
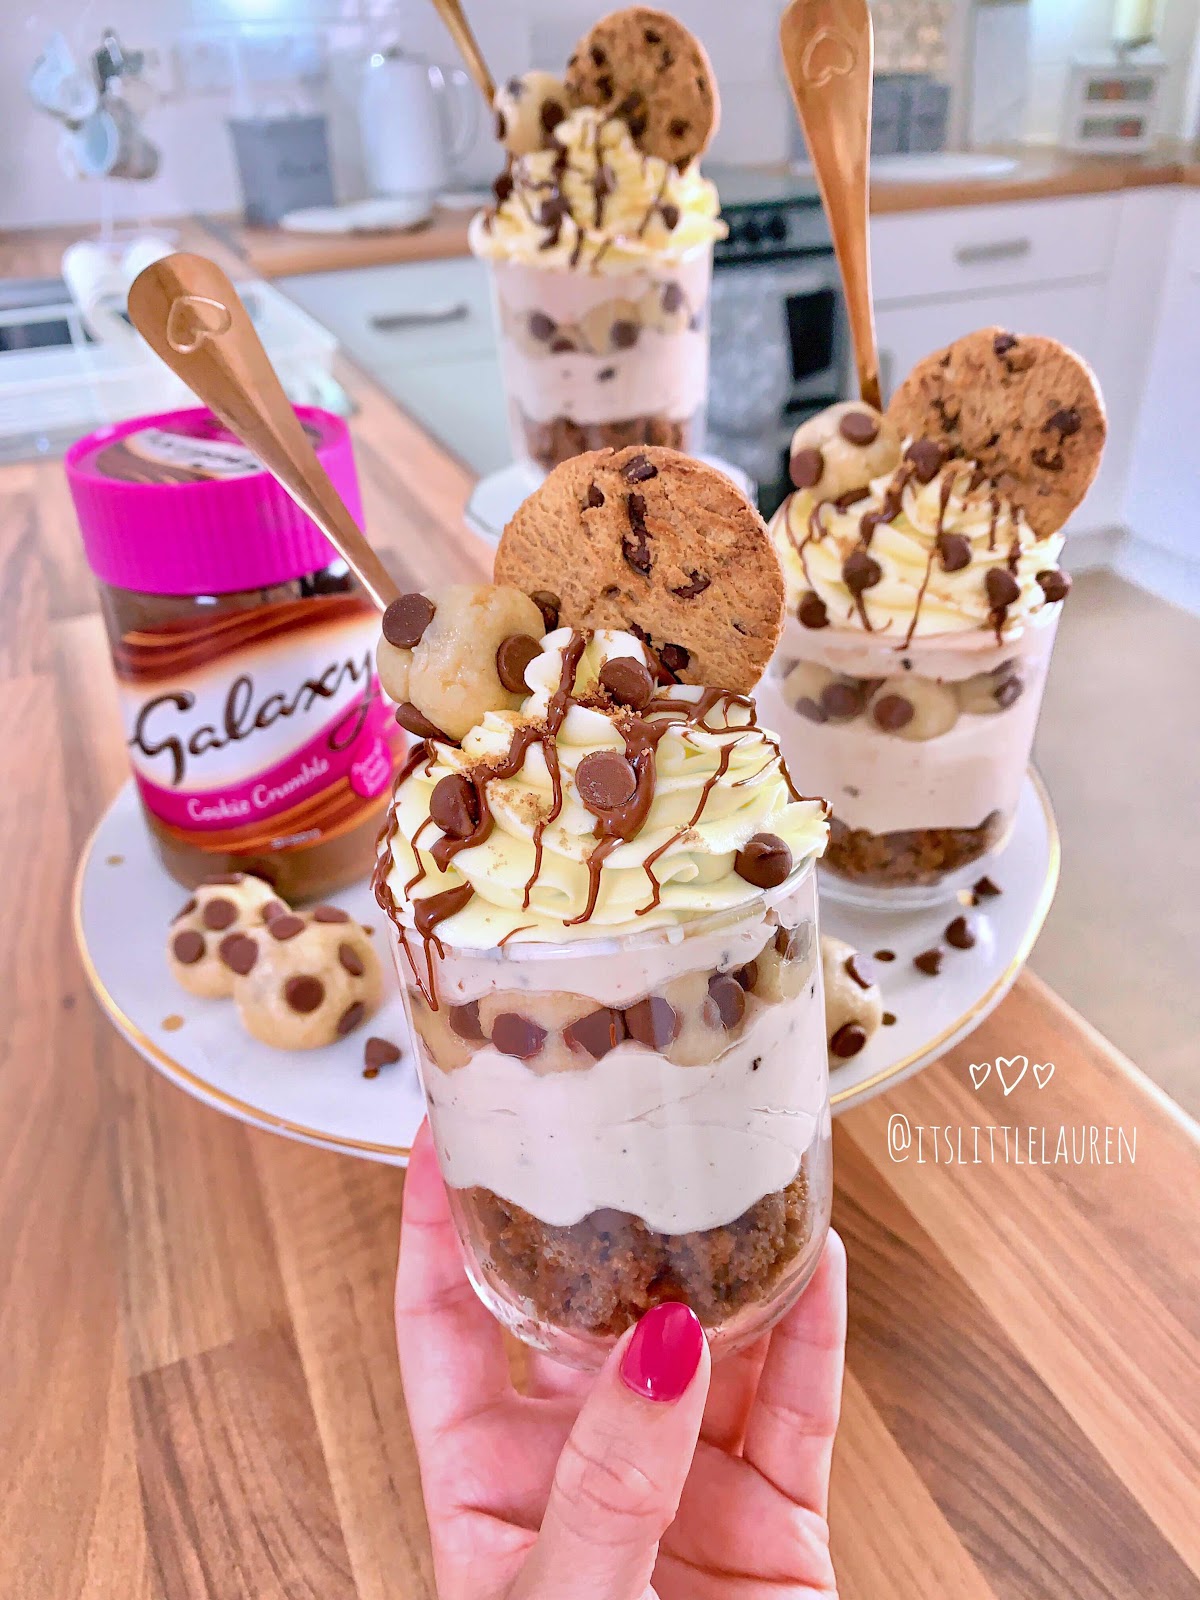
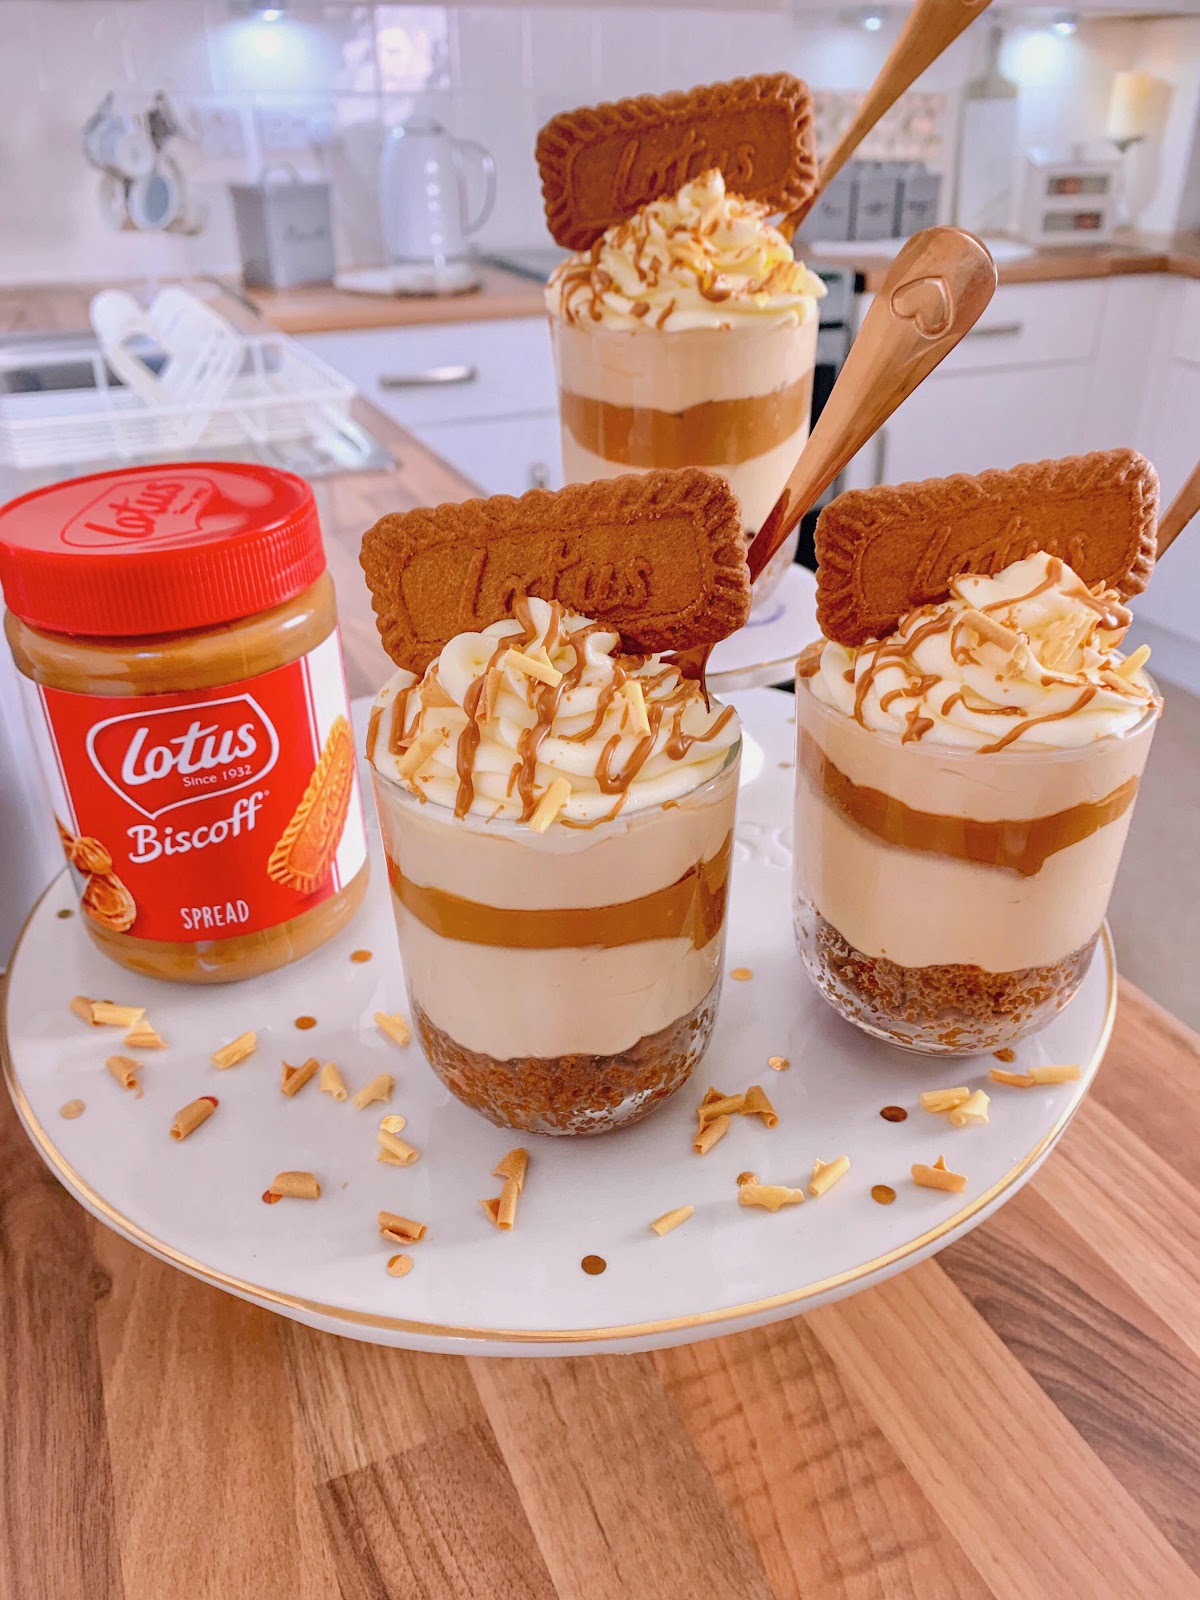
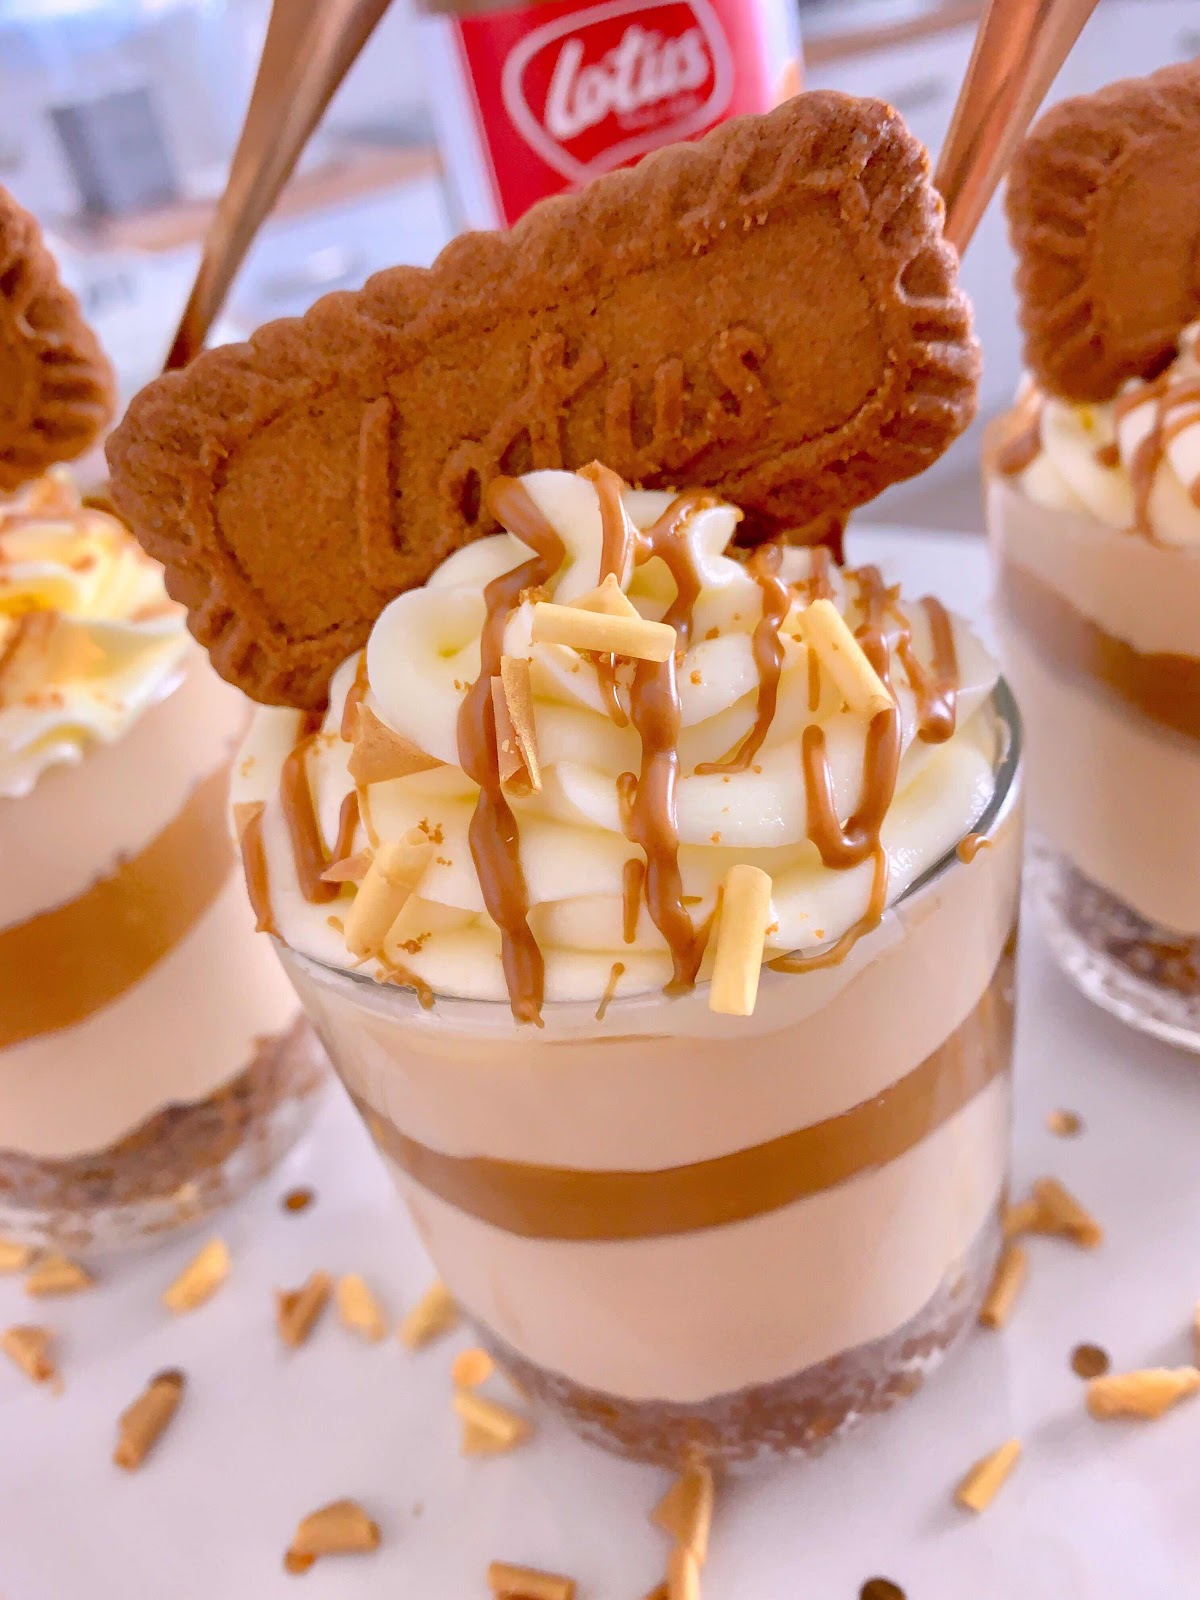
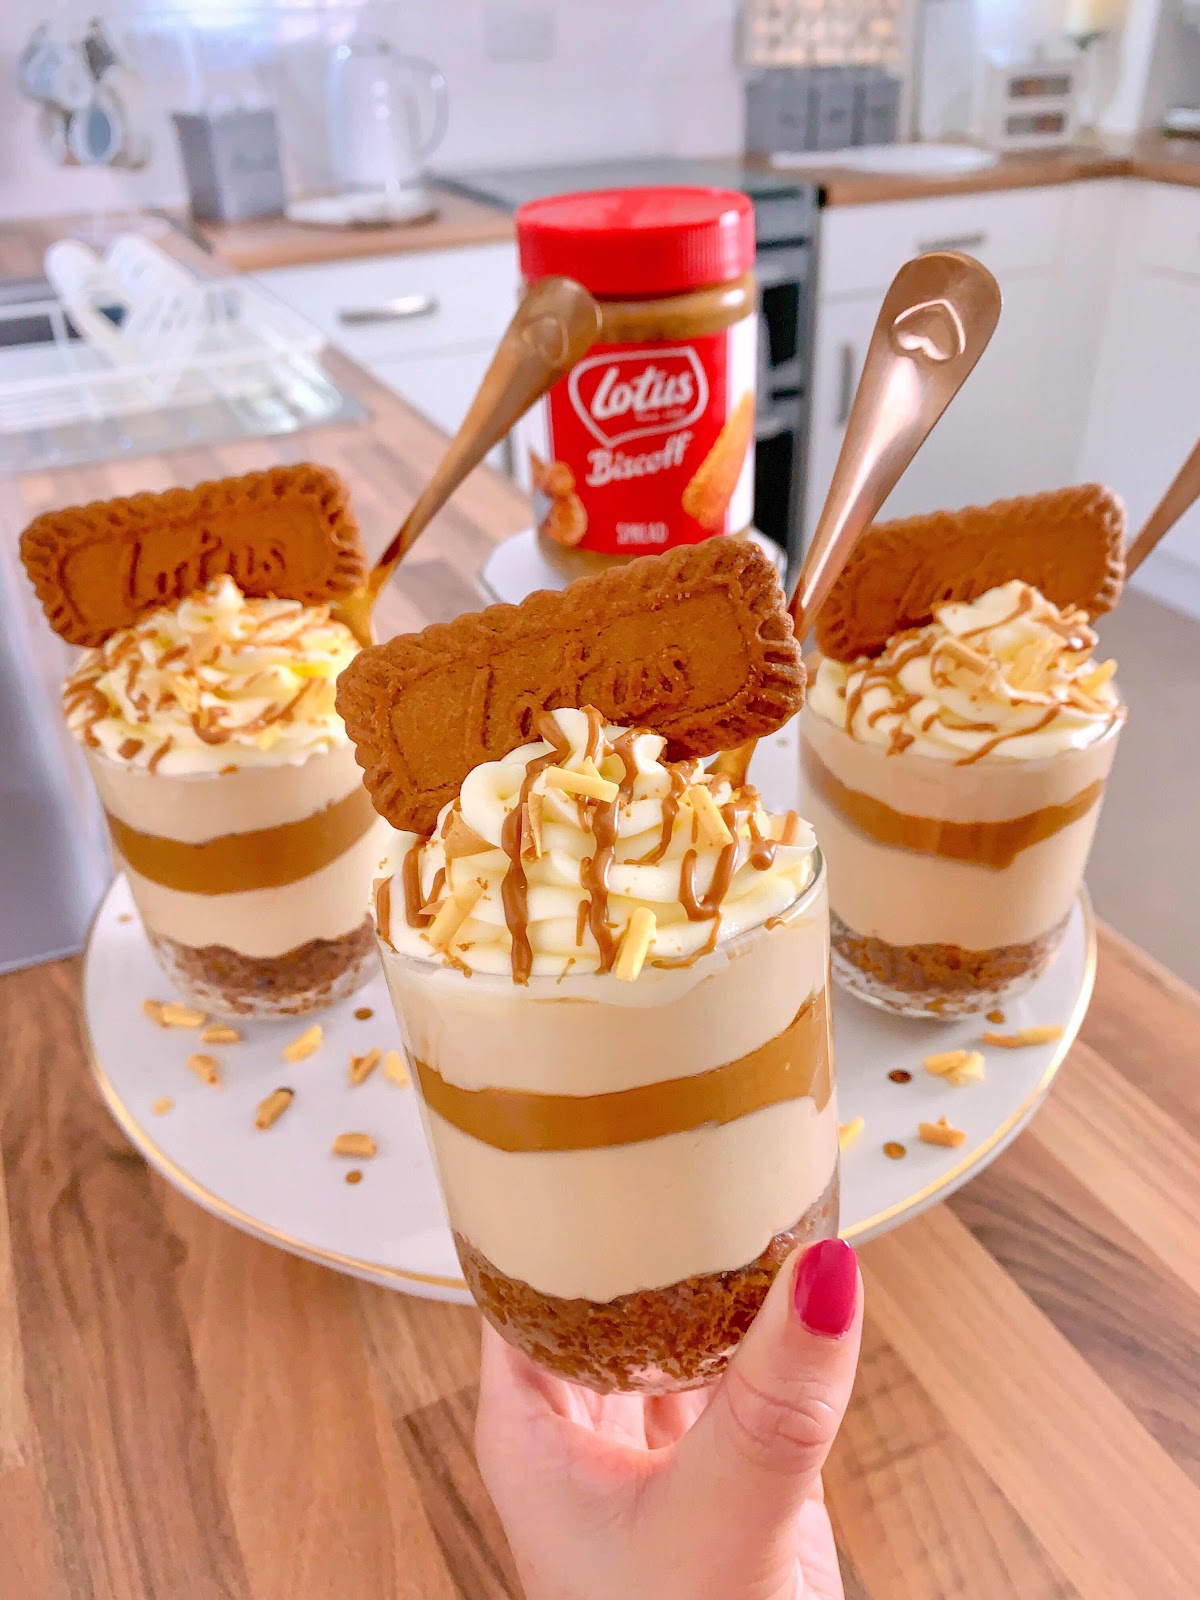
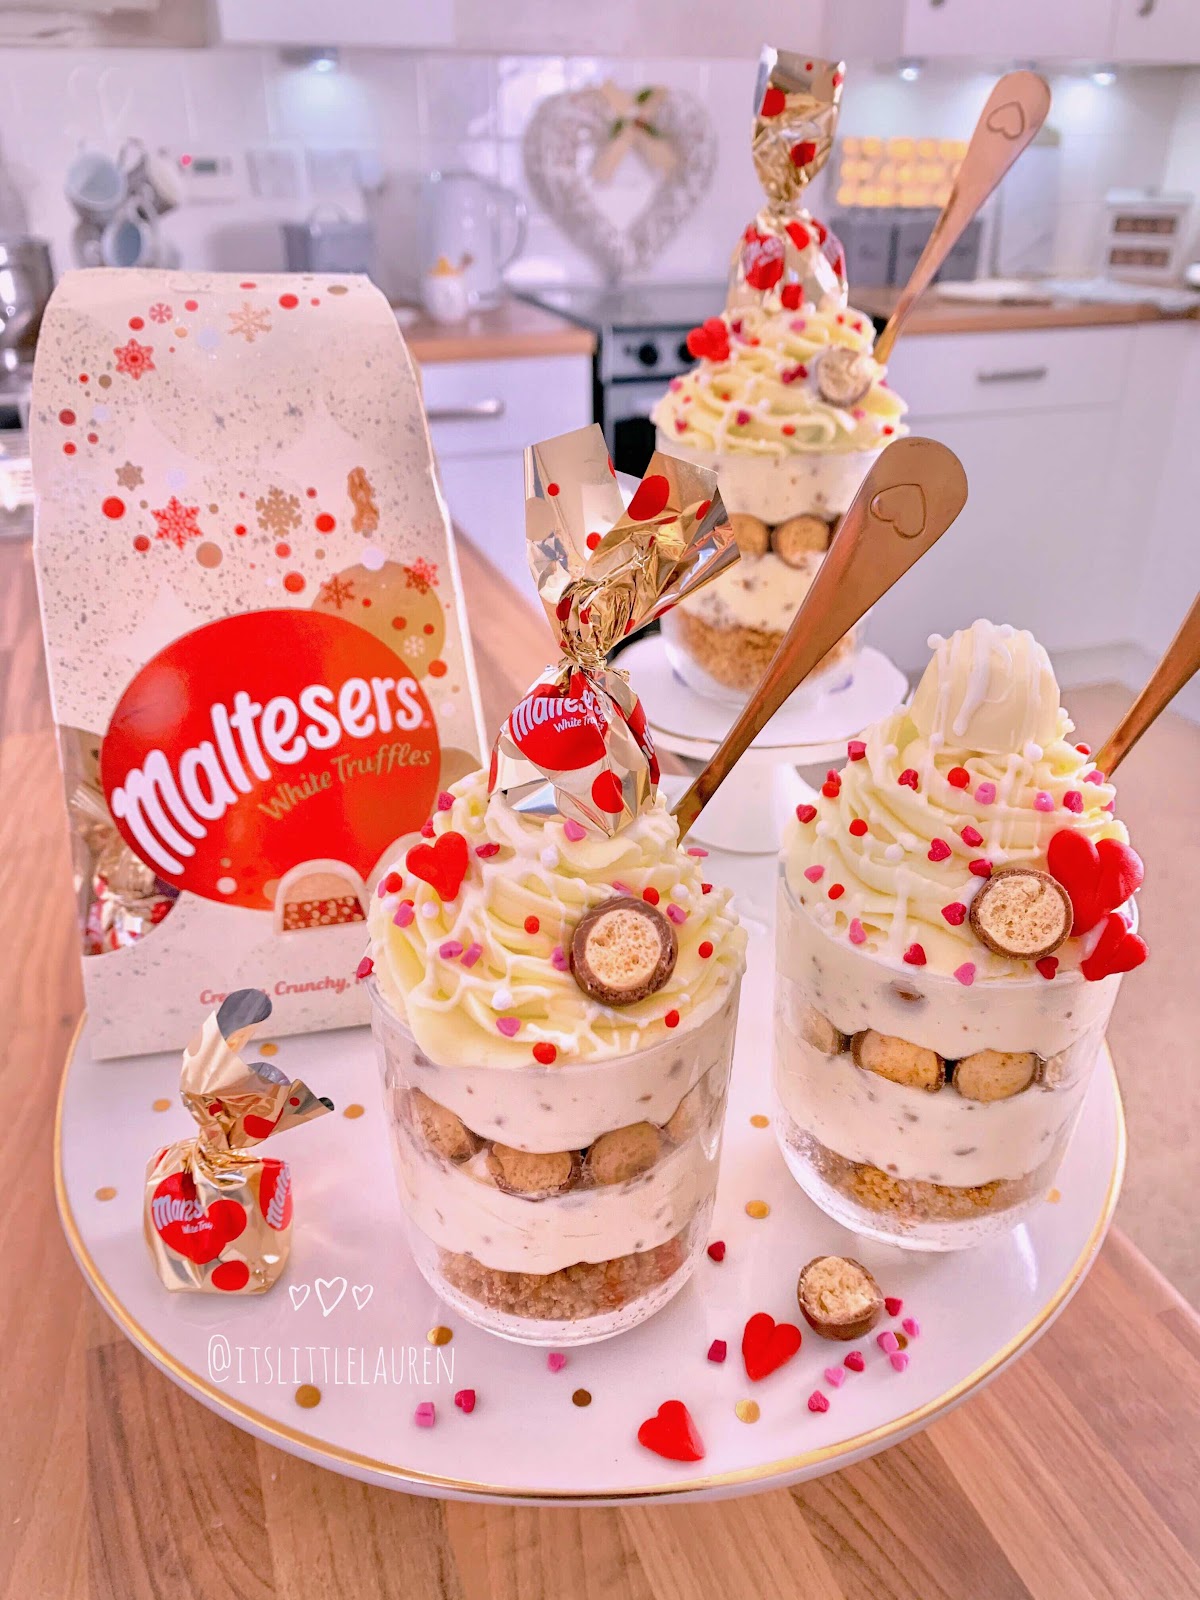
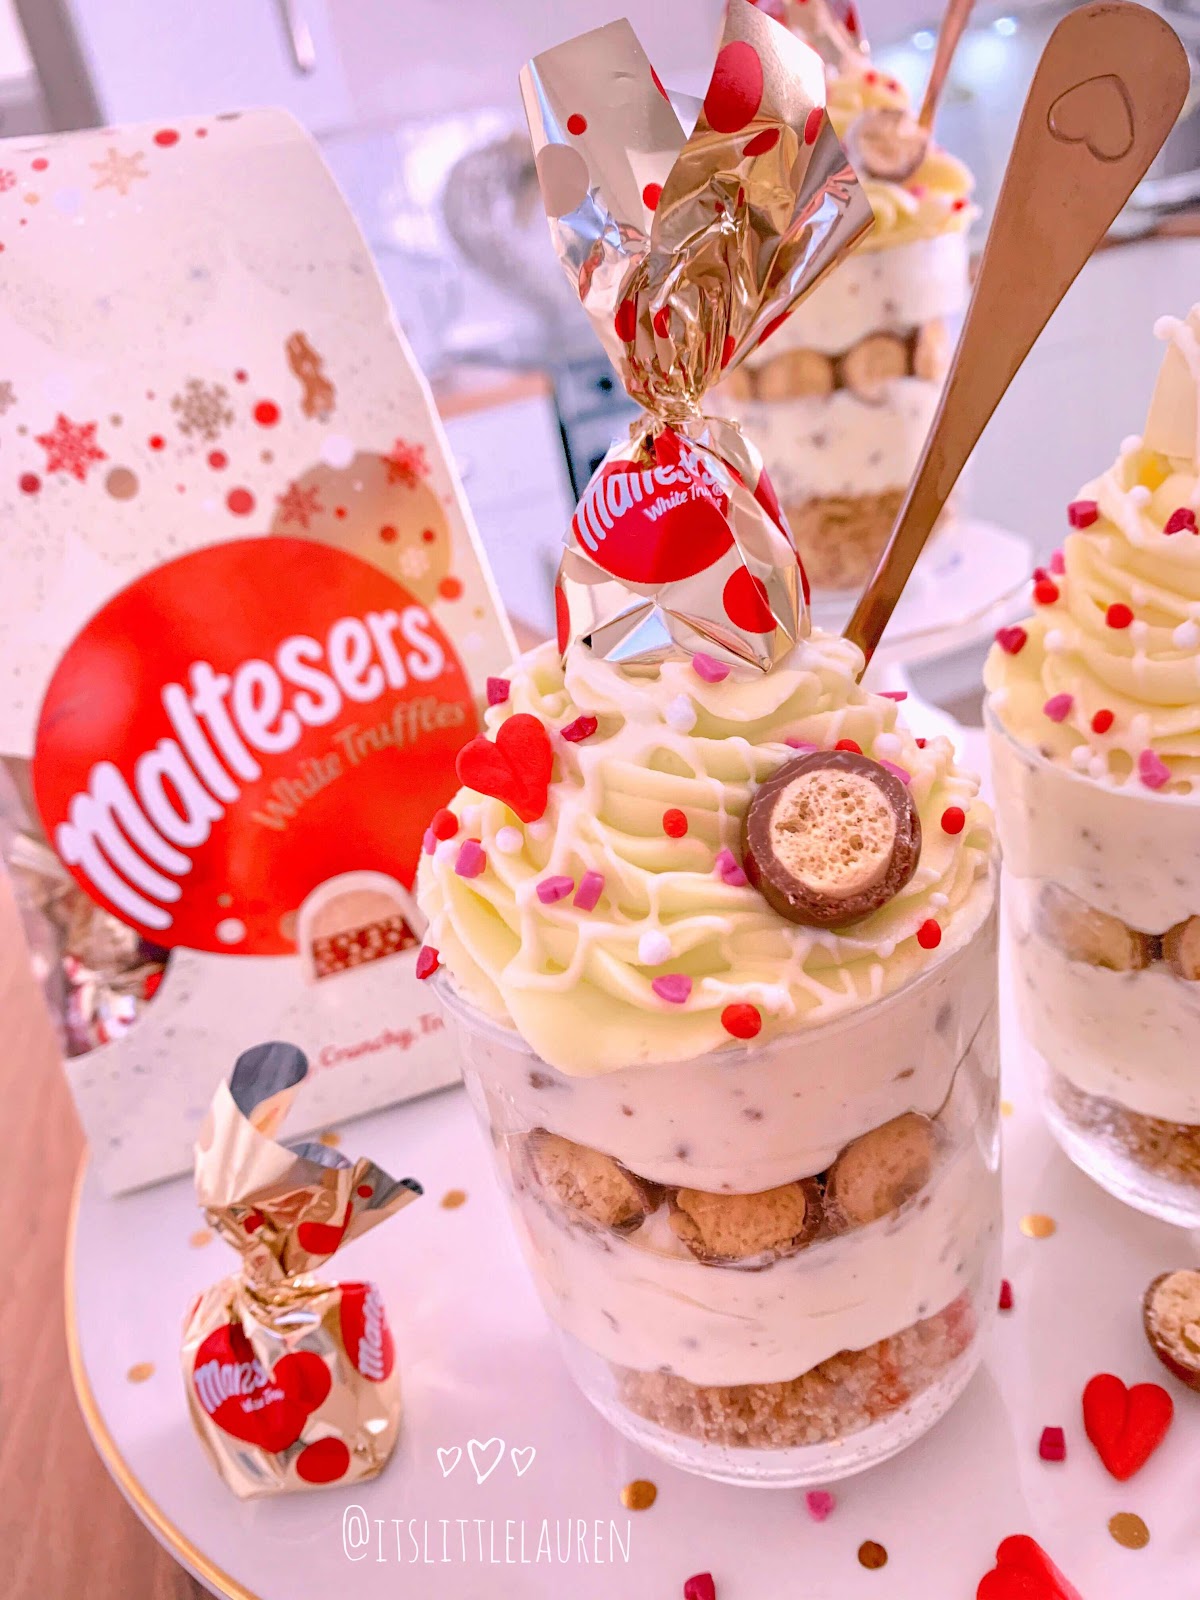
So before I share the recipe with you I better explain what’s in them starting right from the bottom: a crushed digestive base, white chocolate Malteser filling, a layer of Malteser’s, another layer of cheesecake filling and then whipped cream and a white choc drizzle on top. Dare I say it but they might just make for the most perfect Christmas Day dessert?!
So calling all Malteser’s lovers, this ones for you...
Recipe for individual white Malteser truffle cheesecake pots (makes 3-4):
Biscuit Base:
•70g unsalted butter
•150g digestives
Cheesecake filling:
•250g full fat Philadelphia
•50g icing sugar
•1tsp vanilla extract
•150ml double cream
•150g white chocolate
•50g crushed Malteser’s
Whipped cream top & decorations:
•150ml double cream
•2tbsp icing sugar
•Melted white chocolate to drizzle
•Malteser truffle
•Mini heart sprinkles (Tesco)

M E T H O D:
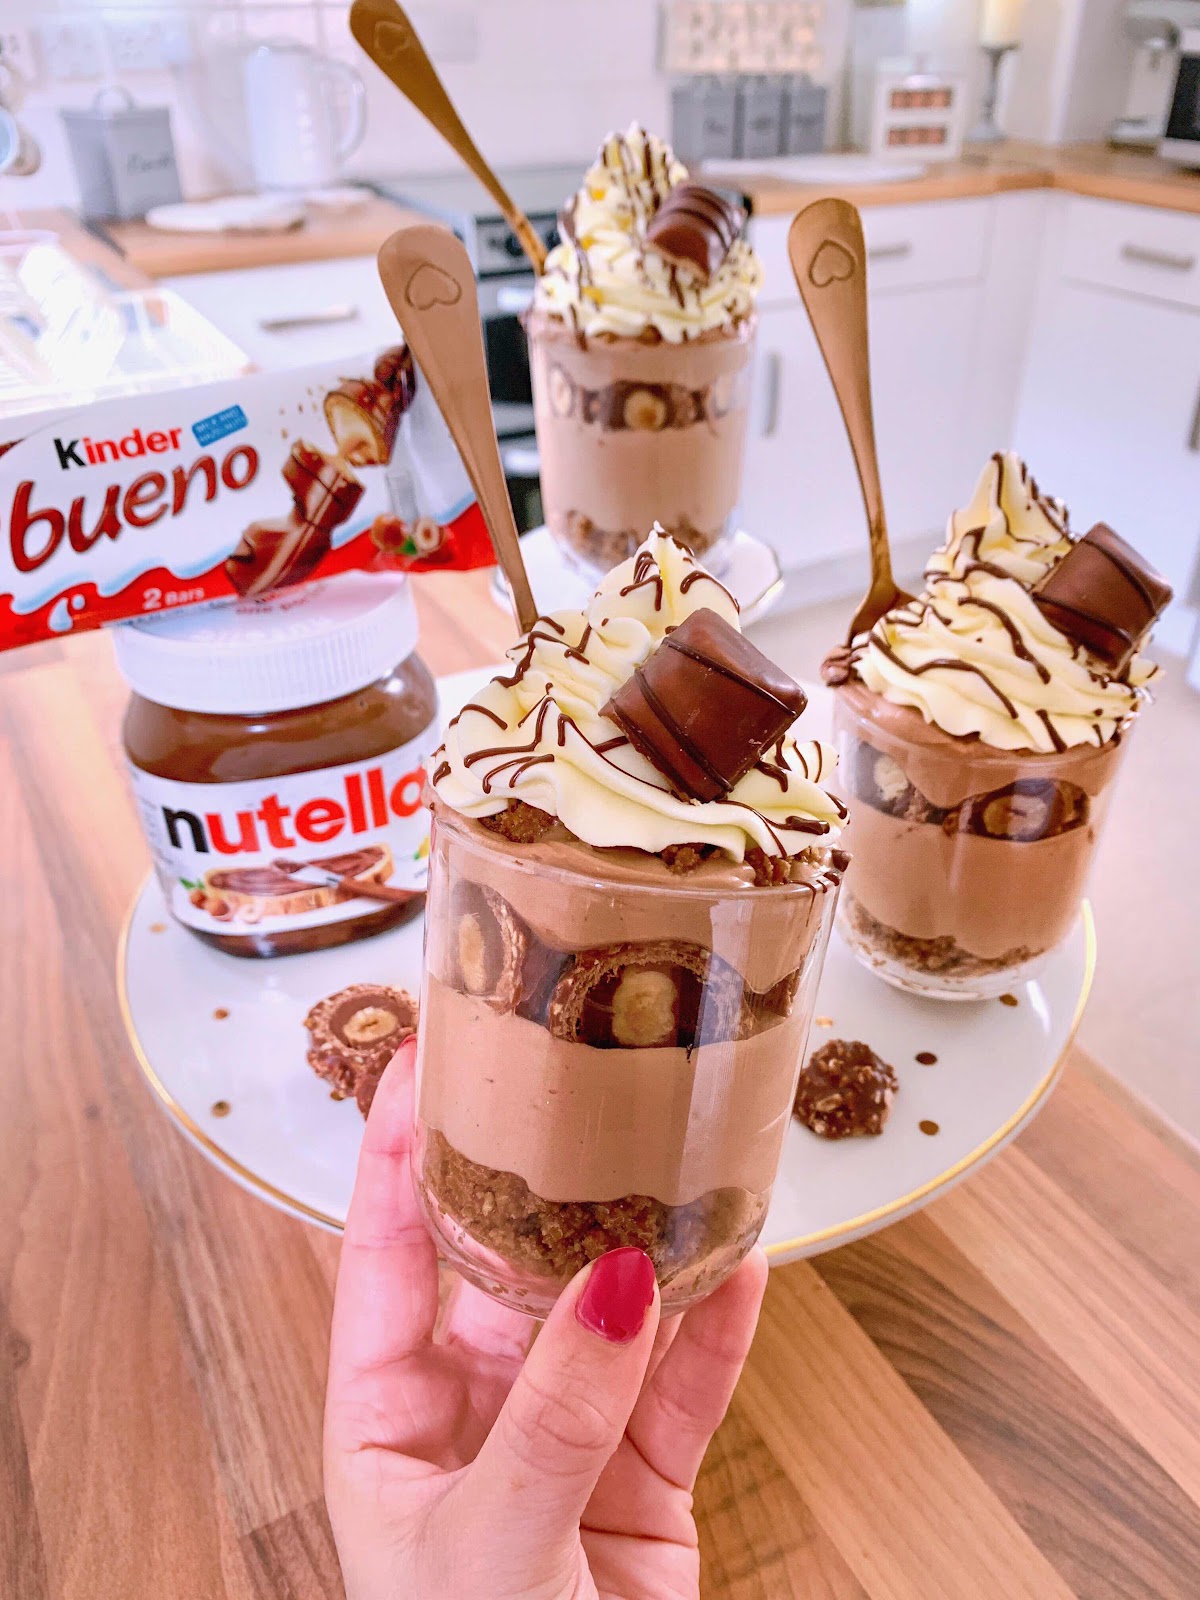
1.) To start off with your biscuit base melt the unsalted butter and mix with crushed digestives- I usually break mine up by whacking with a rolling pin...strangely therapeutic, or if you fancy you could also pop them into a blender to do the work for you. Spoon into your chosen glasses (mine are empty Nutella jars) and press down carefully, pop them into the fridge whilst you move onto the next step.
2.) Next up, melt 150g white chocolate (you could use any brand, just choose your favourite, I used white cooking chocolate). Microwaving on medium power in short bursts, stirring each time- this tends to be the easier option.
3.) For the filling mix Philadelphia with icing sugar and vanilla extract, and combine well. Then add double cream and keep whisking until thickened. Once thickened stir in your melted white chocolate and mix well again.
4.) To crush your Malteser’s use the same method as before for the digestives: place into a bowl and crush with the end of a rolling pin until the Malteser’s are as fine as you can get them. Once crushed fold through your finished cheesecake mix evenly.
5.) Fill each glass with a layer of cheesecake filling- you can either spoon in very carefully or do what I did and pipe the filling over the top of the biscuit base.
6.) Completed, carefully place halved Malteser’s around the edge of the glass and fill the middle with Malteser crumbs. Then go in with another layer of cheesecake filling and and sprinkle over any left over biscuit base. Place into the fridge yet again whilst whipping up your cream.
7.) To make the whipped cream pour double cream into a bowl and add icing sugar over the top, whisk on high speed for a couple of minutes until fluffy and you’re able to pipe. I used a Wilton 2D nozzle for mine as it always gives the best finish.
8.) Decoration time- drizzle melted white chocolate and top with mini heart sprinkles and a Malteser truffle. Once they’re looking pretty set in the fridge for 4-5 hours before eating.
Notes: *Feel free to layer your pots however you please! For example you could add halved truffles instead of the Malteser’s.
*This recipe can also be easily swapped to the milk chocolate flavour truffles... simply switch the white chocolate for milk chocolate instead.
*They should last for 2 days kept in the fridge... if they last that long that is.
I hope that you enjoy as much as I did, such a perfect little treat if you fancy something sweet over Christmas. As always let me how you get on, I always love to see your creations!